How to Hide Cords on a Desk? Clean Setup Guide for Standing Desk

A practical guide to hiding desk cords for a cleaner setup, with cable management tips, tool ideas, and standing desk advice to keep wires neat and safe.
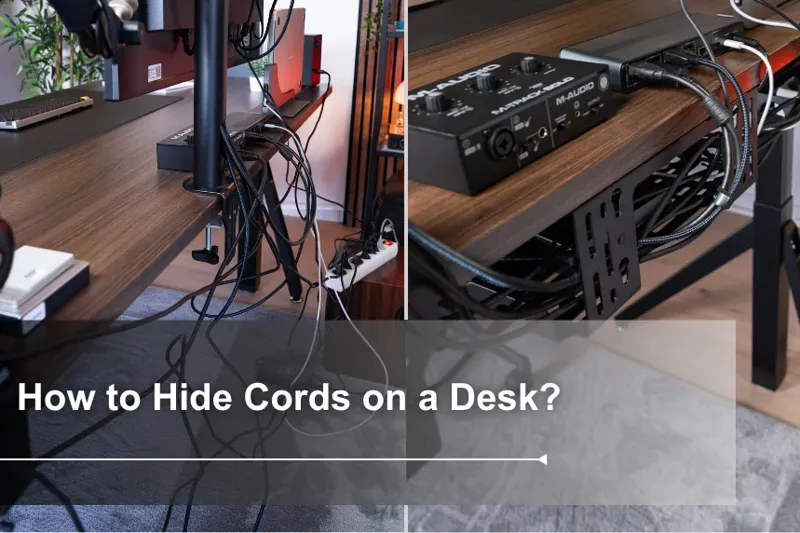
Table of Contents
Updated April 28, 2026
You just finished setting up your workstation. Monitor centered, keyboard in place, everything where it should be, and then you look down. A tangle of cords running in five different directions, a power strip sitting on the floor, cables looping across the desk like they own the place.
Sound familiar? Cord management is one of those things people put off forever, and then spend ten minutes on it and wonder why they waited so long.
This guide walks you through exactly how to hide cords on a desk, with a specific focus on standing desks, where the challenge is a little different from a regular setup.
Why Cord Management Matters More Than You Think
The obvious reason to hide cords is aesthetics. A clean desk looks better, feels calmer, and makes it easier to focus. It can also help keep your cables cleaner by reducing dust buildup.
But for standing desk users, there's a more practical reason: loose, unmanaged cables can get caught in the lifting mechanism when you raise or lower the desk. That kind of tension can damage the cord, stress the connector, or cause the desk to stop unexpectedly. Proper cable management isn't just about looking good, it directly protects your equipment.
There's also the safety angle. Cords on the floor are trip hazards. Overloaded power strips, damaged cords, or cords covered by rugs or other objects can overheat and become a fire risk. Taking an hour to organize your cables properly is one of the highest-ROI things you can do for your workspace.
Cable management: the practice of organizing, routing, and concealing cables so they don't tangle, dangle, or create hazards in a workspace.
Step 1 — Take Stock Before You Touch Anything
Before you buy a single cable clip or tray, spend five minutes answering these questions:
How many devices need to be plugged in?
Where is your nearest wall outlet?
Which devices stay permanently plugged in, and which do you unplug regularly (like a laptop charger)?
Does your desk have pre-drilled cable routing holes or grommets?
Knowing this upfront saves you from buying the wrong tools or routing cables in a direction that doesn't work.
The Standing Desk Rule: Always Leave Space
This is the one thing most standing desk users get wrong.
When your desk moves from sitting to standing height, it typically travels 50–65 cm vertically. Every cable that runs from the desk to a wall outlet (or to a device on the floor) needs to have enough extra length to accommodate that full range of motion without being pulled tight.
The general rule: leave 60–90 cm of slack in any cable that needs to travel with the desk as it moves. If a cable is pulled tight at standing height, it will eventually damage the connector or the cord itself.
A good way to manage this slack: route it into a cable spine or a flexible sleeve (more on that below), so it stays tidy even when the desk moves
The 5 Best Tools to Hide Cords on a Desk
No single tool solves everything. Here's a quick breakdown of what each one is good for:
Tool | What it does | Best for |
Under-desk cable tray | Mounts to the underside of the desk; holds power strip, bricks, and bundled cables | Keeping everything off the floor |
Cable sleeve / mesh sleeve | Groups multiple cables into one tidy bundle | Bundling multiple cables into one clean run |
Cable spine (vertebrae chain) | Flexible segmented channel that moves with the desk | Standing desks — accommodates up/down motion |
Adhesive cable clips | Small clips that stick to surfaces and hold individual cables in a set route | Routing cables along desk edges or legs |
Desk grommet | A circular fitting installed in a hole in the desk surface; cables pass through it cleanly | Keeping cables off the desktop surface |
Quick tip: Start with a cable tray and a cable sleeve. These two alone will solve 80% of cable issues in most setups. Add a cable spine only if you have a standing desk with cables that need to travel vertically.
Step-by-Step: How to Hide Desk Cords the Right Way
Here's the full process, in order.
1. Mount your power strip under the desk first. This is the foundation of a clean setup. When the power strip lives under the desk, only one cord needs to travel down to the wall outlet, everything else plugs in above. Use a cable tray or double-sided mounting tape rated for the weight of your power strip.
2. Route all device cables toward the power strip. Monitor, speakers, desk lamp, laptop charger, each one should run to the under-desk power strip rather than directly to the wall. Keep them grouped together and off the desktop surface as much as possible. Adhesive clips along the underside of the desk help guide cables in the right direction.
3. Bundle everything into a sleeve. Once your cables are grouped and running in roughly the same direction, feed them into a cable sleeve. This turns five messy wires into one clean bundle. Zip ties or Velcro straps at regular intervals keep the bundle from splaying out.
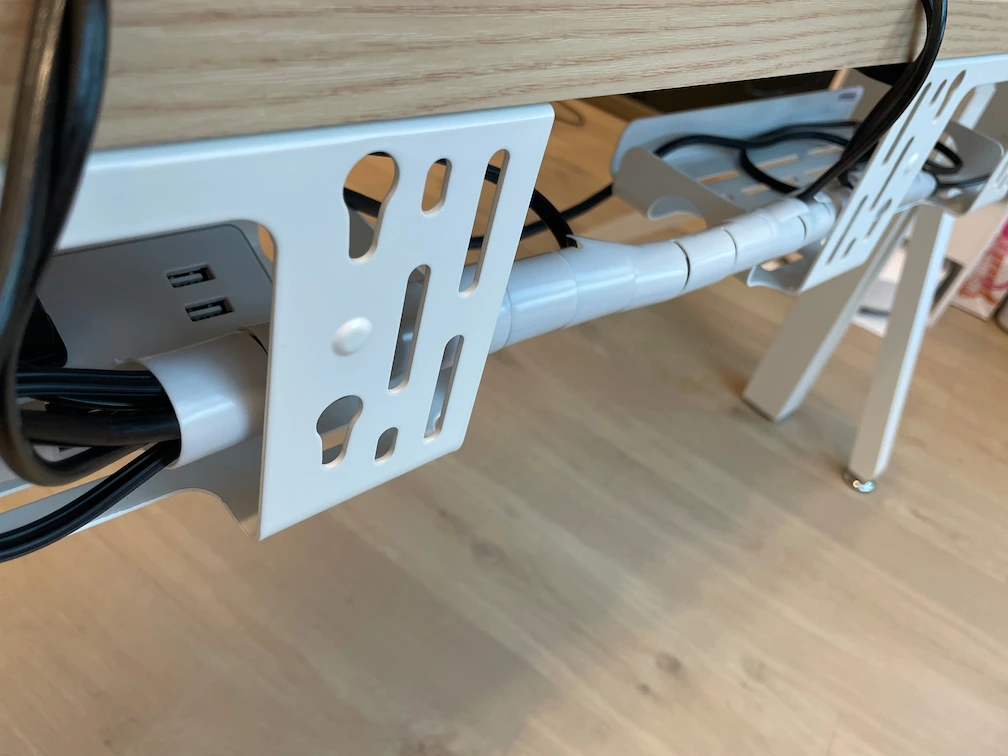
4. Route the final cord from desk to wall. Now only one cable (from the power strip) needs to reach the wall outlet. Route this along the desk leg, using adhesive clips to keep it flat against the surface. For a truly invisible result, a raceway or J-channel mounted along the baseboard is the cleanest option.
5. Label your cables. Before you close everything up, spend two minutes labeling each cable at both ends. Simple masking tape and a marker is enough. You'll thank yourself the next time you need to unplug something.
For Standing Desks: Use a Cable Spine or Flexible Sleeve
If your desk moves up and down, the cable bundle that runs from the desk to the floor needs to be able to flex with it.
A cable spine (also called a vertebrae chain) is the best solution for this. It's a segmented, chain-like channel that holds your cable bundle upright as the desk rises and collapses neatly when the desk lowers. It keeps the slack organized so cables don't drag on the floor or loop unpredictably.
If a cable spine isn't in the budget, a flexible mesh sleeve works too. No matter what you use, just make sure you've left enough slack (see the 60–90 cm rule above) so the sleeve can move freely without pulling tight at full standing height.
Q: Do I need a cable spine if I already have a cable sleeve? A: Not necessarily. A cable spine is specifically designed to keep cables vertical and controlled during desk movement. A sleeve bundles cables but doesn't manage vertical movement on its own. If your desk rises more than 40 cm and you have several cables running to the floor, a spine is worth it.
Common Mistakes That Make Cord Management Fail
Even with the right tools, a few common mistakes can undermine the whole setup:
Zip ties pulled too tight. Zip ties that cut into the cable's outer sheath can damage the internal wiring over time. Use Velcro straps or our DivMag cable tie instead, they're reusable, adjustable, and won't crush the cable.
Power strip left unsecured. A power strip that's just resting under the desk (not mounted) will shift every time you unplug something. Mount it properly so it stays in place.
Not leaving enough slack for desk movement. The most common standing desk cable mistake. If cables are taut at standing height, the connectors are under constant stress. Always build in extra length.
Using zip ties before your layout is finalized. Route everything first, confirm it works at both sitting and standing height, then secure. Cutting zip ties out of a fully organized setup is frustrating.
Cords running under rugs. This looks clean, but cords under rugs can trap heat and are more likely to be damaged or pinched over time. Use a floor raceway instead.
Frequently Asked Questions
Q: How do I hide cords on a desk without drilling holes? A: You don't need to drill. Adhesive cable clips, cable sleeves, and under-desk cable trays with clamp mounts all work without any permanent modifications. If you want cables to pass through the desk surface cleanly, a snap-in grommet (which uses an existing hole) is another no-drill option, though some desks may already have routing holes built in.
Q: How much slack do I need to leave for a standing desk? A: Leave about 60–90 cm of extra length for any cable that travels from the desk to a fixed point (like a wall outlet). This covers the full range of desk height adjustment without pulling the cable taut. Route this slack into a cable spine or sleeve so it stays contained.
Q: I have two monitors. How do I manage all those cables? A: Use a zippered cable sleeve to group both monitor cables into one trunk. This turns four or five cables (power + display for each monitor) into one clean line. Route the sleeve along the underside of the desk and down to your under-desk cable tray.
Q: What's the easiest place to start if I'm overwhelmed? A: Mount a power strip under the desk first. This single step eliminates most of the floor-level cable chaos. From there, you can add trays, sleeves, and clips one step at a time, you don't have to do everything at once.
The Right Desk Makes Cable Management Easier From the Start
The cleanest setups usually start with a desk that's designed with cable management in mind, built-in routing holes, structural channels along the frame, and a solid underside that can properly support a mounted power strip and cable tray.
If you're setting up a workstation from scratch, or thinking about upgrading, it's worth looking at desks that make this easier rather than something to work around after the fact. Dezctop's standing desk lineup is designed with exactly this in mind.
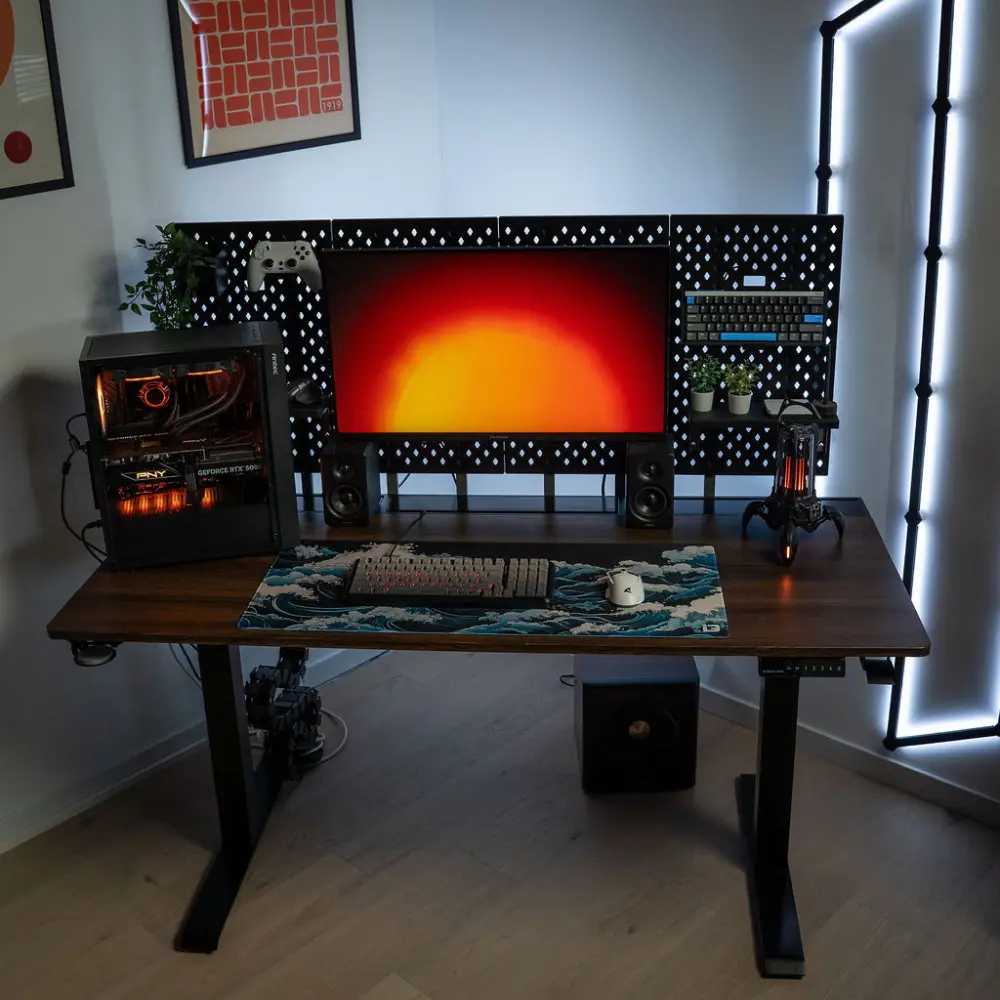 |  |
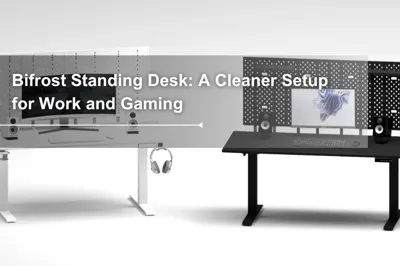
The Bifrost Series Desk features an integrated cable management system, so there’s no need to figure out how to install a desk grommet. Simply place your cables, extension cord inside, and use the built-in openings to route them exactly where you need them.
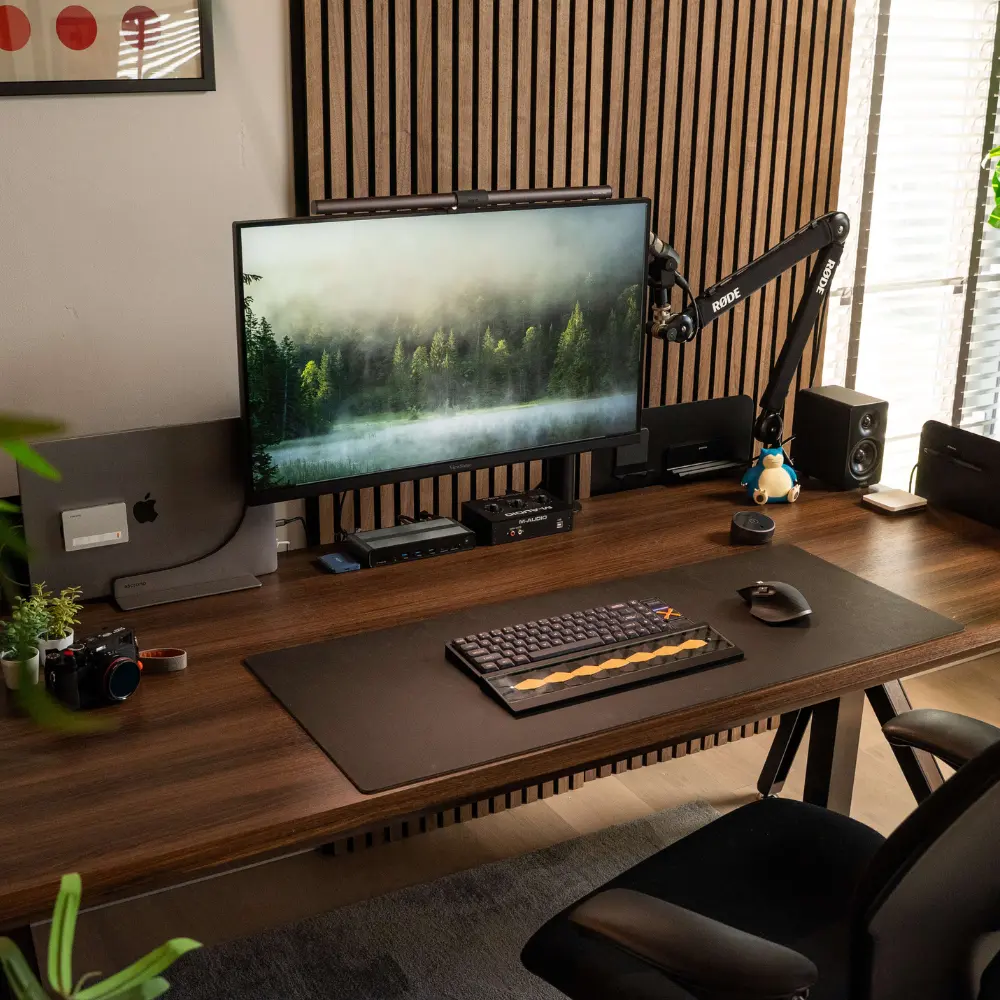
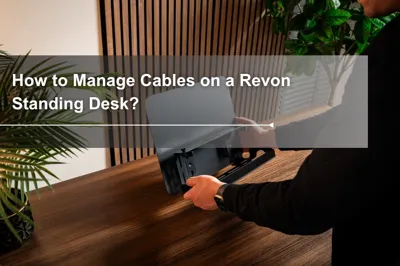
The Revon Series Standing Desk can be paired with a Cable Management Tray for more flexible cable routing.You can move the tray along the edge of the tabletop to position it closer to your power outlets, reducing concerns about cable length. Also, its open design also makes plugging and unplugging easier and more accessible.
You can explore the full range at our desk page.
Once your cables are handled, the rest of your workspace tends to fall into place.
You may also like:
Tag



Dezctop